
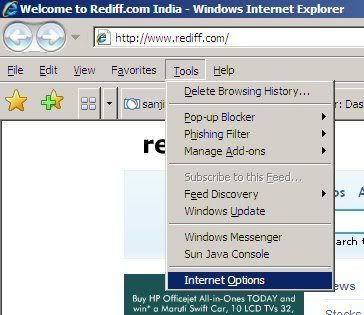
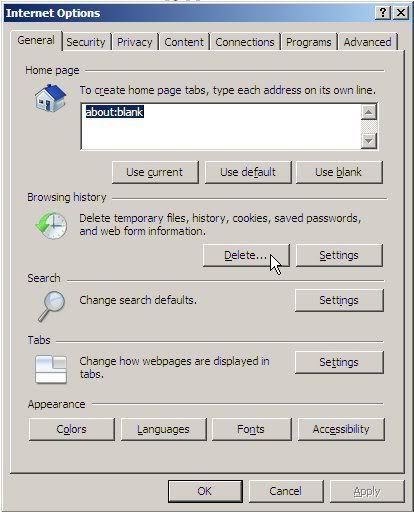
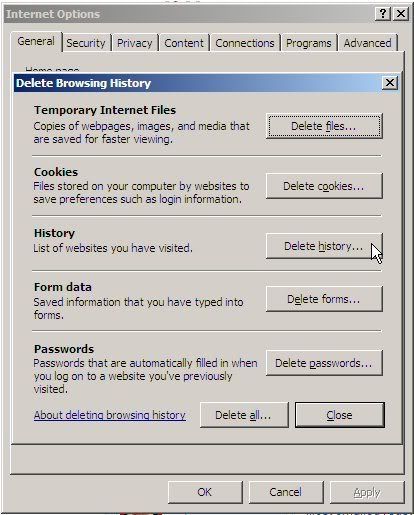
At times we need to delete IE history, cookies, saved passwords etc. Its a lengthy process if we do it from desktop internet explorer icon or IE tools menu. What if we can clear everything or a selected one or two from command prompt or using batch file.
Here are the commands that relates to the different buttons. You can use these command directly from command prompt, run box or can use in combination in a batch file.
Temporary Internet Files
RunDll32.exe InetCpl.cpl,ClearMyTracksByProcess 8
Cookies
RunDll32.exe InetCpl.cpl,ClearMyTracksByProcess 2
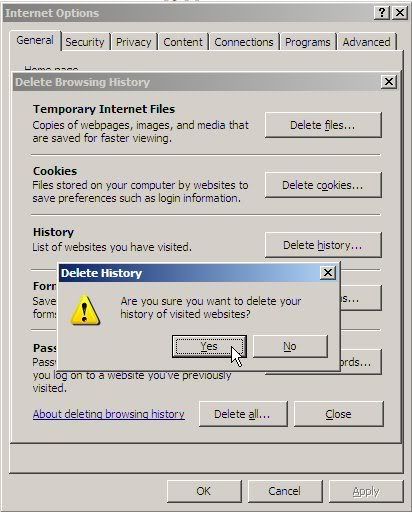
History
RunDll32.exe InetCpl.cpl,ClearMyTracksByProcess 1
Form Data
RunDll32.exe InetCpl.cpl,ClearMyTracksByProcess 16
Passwords
RunDll32.exe InetCpl.cpl,ClearMyTracksByProcess 32
Delete All
RunDll32.exe InetCpl.cpl,ClearMyTracksByProcess 255
Delete All - "Also delete files and settings stored by add-ons"
RunDll32.exe InetCpl.cpl,ClearMyTracksByProcess 4351
These commands should work in Internet Explorer 7 on XP or on Windows Vista.
RunDll32.exe InetCpl.cpl,ClearMyTracksByProcess 8
Cookies
RunDll32.exe InetCpl.cpl,ClearMyTracksByProcess 2
History
RunDll32.exe InetCpl.cpl,ClearMyTracksByProcess 1
Form Data
RunDll32.exe InetCpl.cpl,ClearMyTracksByProcess 16
Passwords
RunDll32.exe InetCpl.cpl,ClearMyTracksByProcess 32
Delete All
RunDll32.exe InetCpl.cpl,ClearMyTracksByProcess 255
Delete All - "Also delete files and settings stored by add-ons"
RunDll32.exe InetCpl.cpl,ClearMyTracksByProcess 4351
These commands should work in Internet Explorer 7 on XP or on Windows Vista.


.gif)

